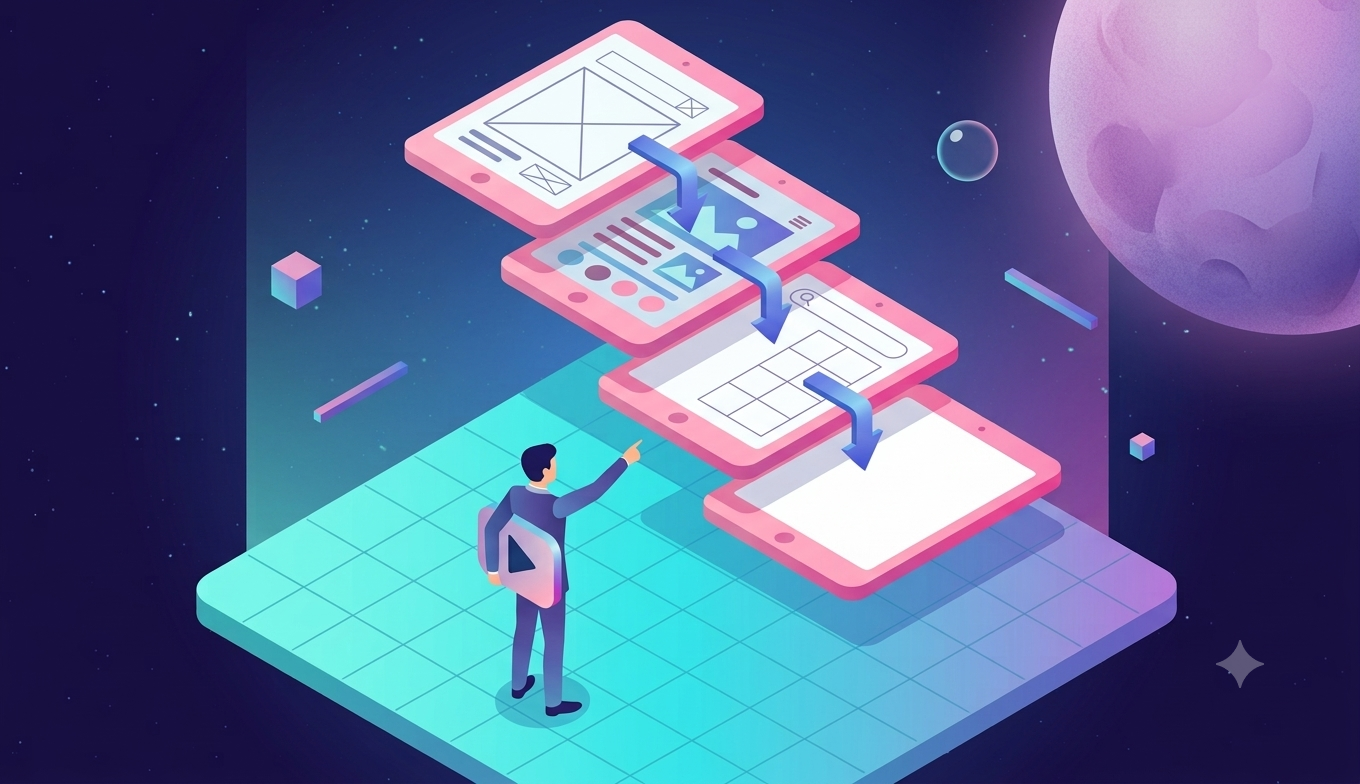
You have an idea. You can see it. Now you want to make it real enough to test, show someone, or just prove to yourself it works the way you think it does.
Here's how to do that.
You may also want to:
Learn the cost of creating an app prototype
Decide if building a prototype is the right step
Know what's involved in creating a good app
Types of App Prototypes You Can Create
"Prototype" gets used to mean everything from a rough sketch to a working app. The type you need depends on the question you're trying to answer.
Paper sketch: you're still figuring out the concept. Get a pen. Draw the screens. Arrow the connections. Do this before you touch any software. It takes an hour, costs nothing, and reveals structural problems before you've invested anything.
Wireframe: you know what the app does but need to figure out the structure. Boxes, labels, basic layout. No colour, no branding. Tools: Whimsical, Balsamiq, or even Figma in its roughest form.
Clickable prototype: you know the structure and need to simulate the experience. Realistic screens, connected so someone can tap through the flow. Tools: Figma, Framer, Marvel, InVision. This is what most people mean when they say prototype.
Functional prototype: you need real users doing real things with real data. This means actual code, or no-code platforms like Bubble or Glide. Takes longer. Worth it when a clickable prototype won't generate the signal you need.
Pick the right one. If you're trying to test whether users understand a flow, a clickable prototype does that. You don't need a functional one yet.

The Process: How to Create an App Prototype
1. Define the one flow you're prototyping
Not the whole app. The single most important user journey - the thing that, if it works, proves the product is worth building.
If it's a marketplace: search, find, book. If it's a SaaS tool: sign up, set up, get value. If it's a consumer app: open, discover, complete the core action.
Write it out as a sequence. "User opens app → sees home screen → taps search → enters location → sees results → taps a listing → books."
That's your prototype scope. Everything else is version two.
2. List the screens
Count how many screens that journey needs. For most core flows, it's five to eight. For example:
- Home / landing screen
- Search or input screen
- Results screen
- Detail screen
- Action screen (book, buy, submit)
- Confirmation screen
3. Sketch each screen before designing it
This is a step many people skip and then regret.
Before you open any tool, sketch each screen on paper. Where does the navigation go? What's the primary action on each screen? What information is necessary versus what seems nice to have?
This method is cheap and fast. Figuring this out with a design tool is slower, and in development, is expensive.
4. Build the screens in your tool of choice
Now open the tool. For a clickable prototype:
Figma is the industry standard and free for individuals. Large community, excellent tutorials, the file format developers expect.
Marvel App is faster to learn than Figma. You can take photos of your paper sketches and turn them into a tappable prototype in under an hour. Seriously. If you want something working today, this is the fastest route.
Framer is good if you're technical and want more realistic interactions. Steeper curve but more powerful output.
InVision is falling out of fashion but still works for basic clickable prototypes.
For a functional prototype where you need real data and real interactions:
Bubble for complex web or mobile app logic.
Glide for something simpler, especially if you're pulling from a Google Sheet.
Softr for database-connected apps quickly.
Whatever you use: put in real content, not placeholder text. Dummy copy tells you nothing about whether the screen works. Write the actual headline, the actual button label, the actual error message. This will help you immediately see what feels wrong.
5. Connect the screens
In any clickable prototype tool, you link elements on one screen to another screen. Tap this button, go to that screen. Tap back, return. Do this for every step in the core flow.
Then, (before you show anyone else, go through it yourself as if you've never seen it before. Find the moment where you hesitate. Find the thing that doesn't feel right. Fix those before other people see them.
6. Test it with 5 real people
Not friends and family. Test it with people who actually have the problem your app solves.
Give them the prototype with no explanation except the problem it solves. Say: "This is an app that helps people do X. Try to do X."
Watch where they hesitate. Watch what they tap that you didn't expect them to tap. Watch where they stop.
After: ask them what was confusing. Ask what they expected to happen that didn't. Ask what they would look for that they couldn't find.
7. Revise, then test again
Take the top three problems from testing, fix them and test again with three to five new people. See if the same issues appear.
Two rounds of this and you'll have a prototype that's been validated, which makes your app far more likely to succeed in the market than those who launch without testing.
What Makes a Prototype Useful
A few things that experienced product people know and that most first-timers have to learn the hard way:
Realistic content changes everything: A button that says "Submit" tells you nothing. A button that says "Book appointment for £45" makes users feel the real decision. Design with real content.
Show it on a phone, not a laptop: Everything looks fine on a big monitor. Get it on the actual device it'll run on because the proportions, the tap target sizes, the text legibility all change. Most prototype tools generate a QR code for mobile preview. Use it.
The purpose is to be wrong fast: A prototype isn't a proposal. It's a hypothesis. You're not trying to prove you're right, but you're trying to find out where you're wrong before building costs real money.
One prototype, one question: If you're trying to test too many things at once, you'll learn nothing clearly. Pick the one assumption that, if wrong, would change everything. Build the prototype to test that.
When the Prototype Is Done
You'll know the prototype is ready to hand off when someone who's never seen the idea before can complete the core flow without you explaining anything.
That's the bar. Not pixel-perfect design. Not every edge case handled. Reach the stage when a stranger can use it.
At that point, you have something worth building. Which means the next step is finding a development team that starts from what you've built — respecting the thinking that went into it — rather than asking you to start their process from scratch.
That's how we work. You bring a tested prototype, we build from it. Properly scoped, properly built, on a timeline that makes sense.
If you're at that stage, let's talk about what building looks like. If you vibe coded your app, you may want to check out guide to deploying a vibe-coded app.
Octogle Technologies builds powerful mobile and web apps for new founders, small businesses, and intrapreneurs. If you need help building a prototype to validate your idea, we can help you get started with a free consultation.